Step By Step Instructions
-

Step 1
Clamp your isolator valve on the pressurized hot or cold water line tubing you are installing your valve onto.
-

Step 2
Screw on your bolts using your drill gun , but make to have your drill set to low torgue to avoid bolt breakage.
-

Step 3
Set your drill to maximum torque and low gear (1). Drill up to 1/2" and 1" blue line; 3/4" red.


-

Step 4
Unscrew the drill collar from the valve.
-

Step 5
Twist until the red dot are aligned with one another.
-

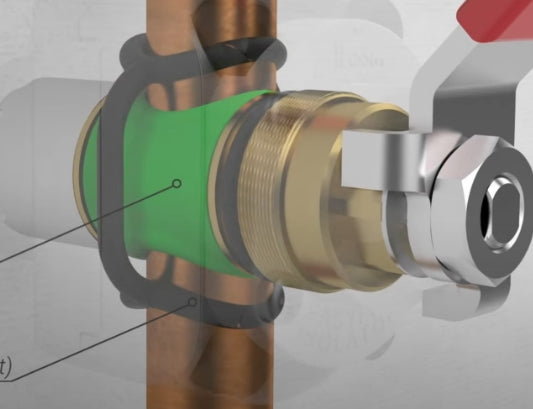
Step 6
Remove the split polytube from the spindle.


-

Step 7
Position the cap and seal against the pipe tubing ends.
-

Step 8
Secure the cap with by screwing all four bolts. To prevent over tightening make sure to manual screw them on with a screw driver.
-
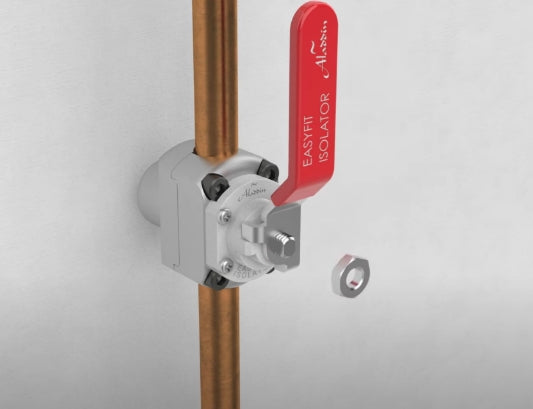
Step 9
Last secure your Hot/Cold valve handle onto valve. Congratulations! you have offically installed your EasyFit Isolator Valve.